Everything You Need to Know About Wood Floor Sanding in the UK
When it comes to homes, few things have the instant charm and enduring appeal of wooden floors. They’ve graced the halls of castles, the living rooms of modest homes, and even the trendiest modern apartments. Yet, like all beautiful things, wooden floors require care to keep their allure. And nothing revitalises tired, worn floors quite like sanding.
But let’s be honest. The idea of sanding your floors can seem as appealing as watching paint dry. It conjures images of endless dust clouds, ear-piercing noise, and backbreaking labour. However, armed with the right knowledge, the process can be surprisingly straightforward—and the results? Utterly transformative.
This guide will take you through everything you need to know about sanding your wood floors, from why it’s worth doing to how to do it like a seasoned pro.
Why Sand Your Wooden Floors?
Wooden floors are a lot like old friendships. Over time, they get scratched, scuffed, and battered by life. Every nick tells a story, whether it’s from moving furniture or a toddler’s tiny but surprisingly destructive toys. But there’s a point when those stories turn from charming to downright shabby.
Sanding does more than just fix surface imperfections. Here’s why it’s essential:
-
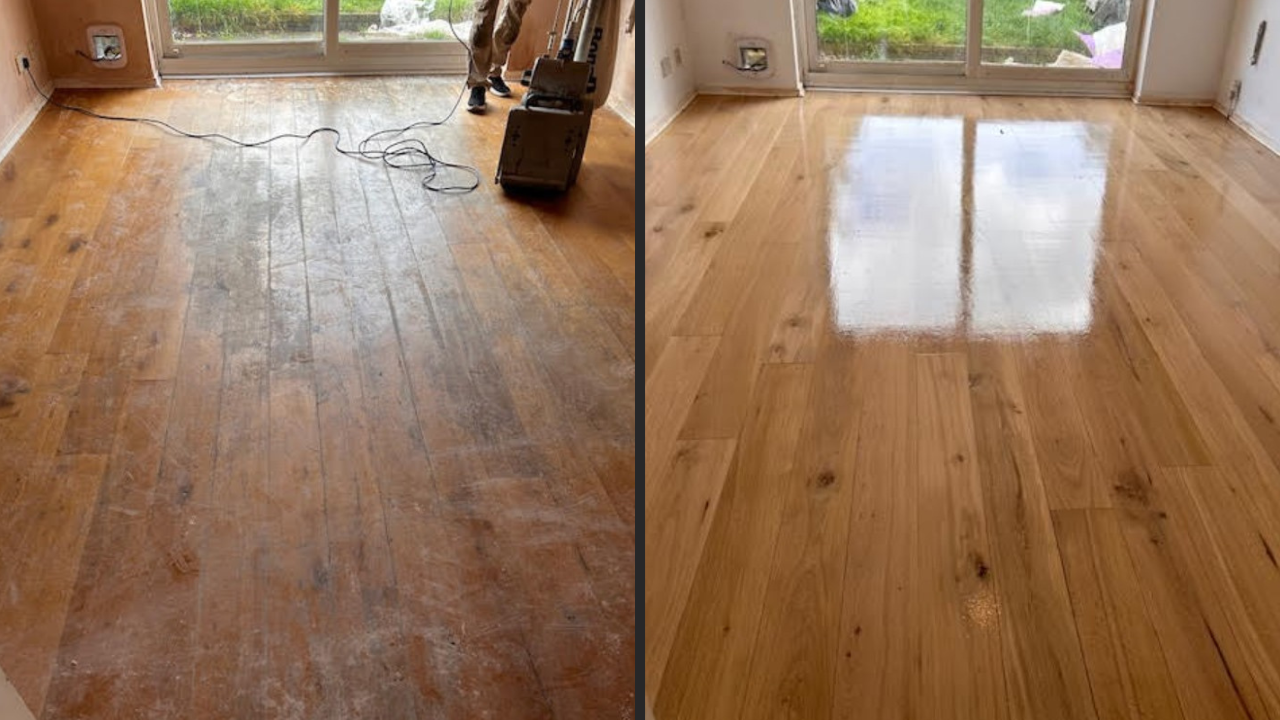
Restores Natural Beauty
Over time, wood floors lose their sheen and colour. Sanding strips away the tired surface, revealing the fresh, natural wood beneath. -
Increases Durability
By sanding and refinishing your floors, you protect them from future wear and tear, ensuring they last for decades. -
Adds Value to Your Home
Well-maintained wooden floors are a major selling point. Sanding gives them a polished, like-new appearance that wows potential buyers. -
Improves Hygiene
Scratches and dents can harbour dirt, dust, and allergens. Sanding smooths the surface, making cleaning a breeze.
So, if you’re looking to breathe new life into your home, sanding is the way to go.
When Should You Sand Your Floors?
Timing, as they say, is everything. Sanding your floors too often can unnecessarily thin the wood, while waiting too long can lead to irreparable damage.
Here are some telltale signs that it’s time to sand:
- The finish looks dull or faded, even after cleaning.
- There are visible scratches, dents, or gouges.
- Water doesn’t bead on the surface anymore, indicating the protective layer is worn.
- You can feel unevenness or rough patches underfoot.
For most homes, sanding floors every 10 to 15 years is sufficient. High-traffic areas, however, might need attention sooner.
Can You Sand Floors Yourself?
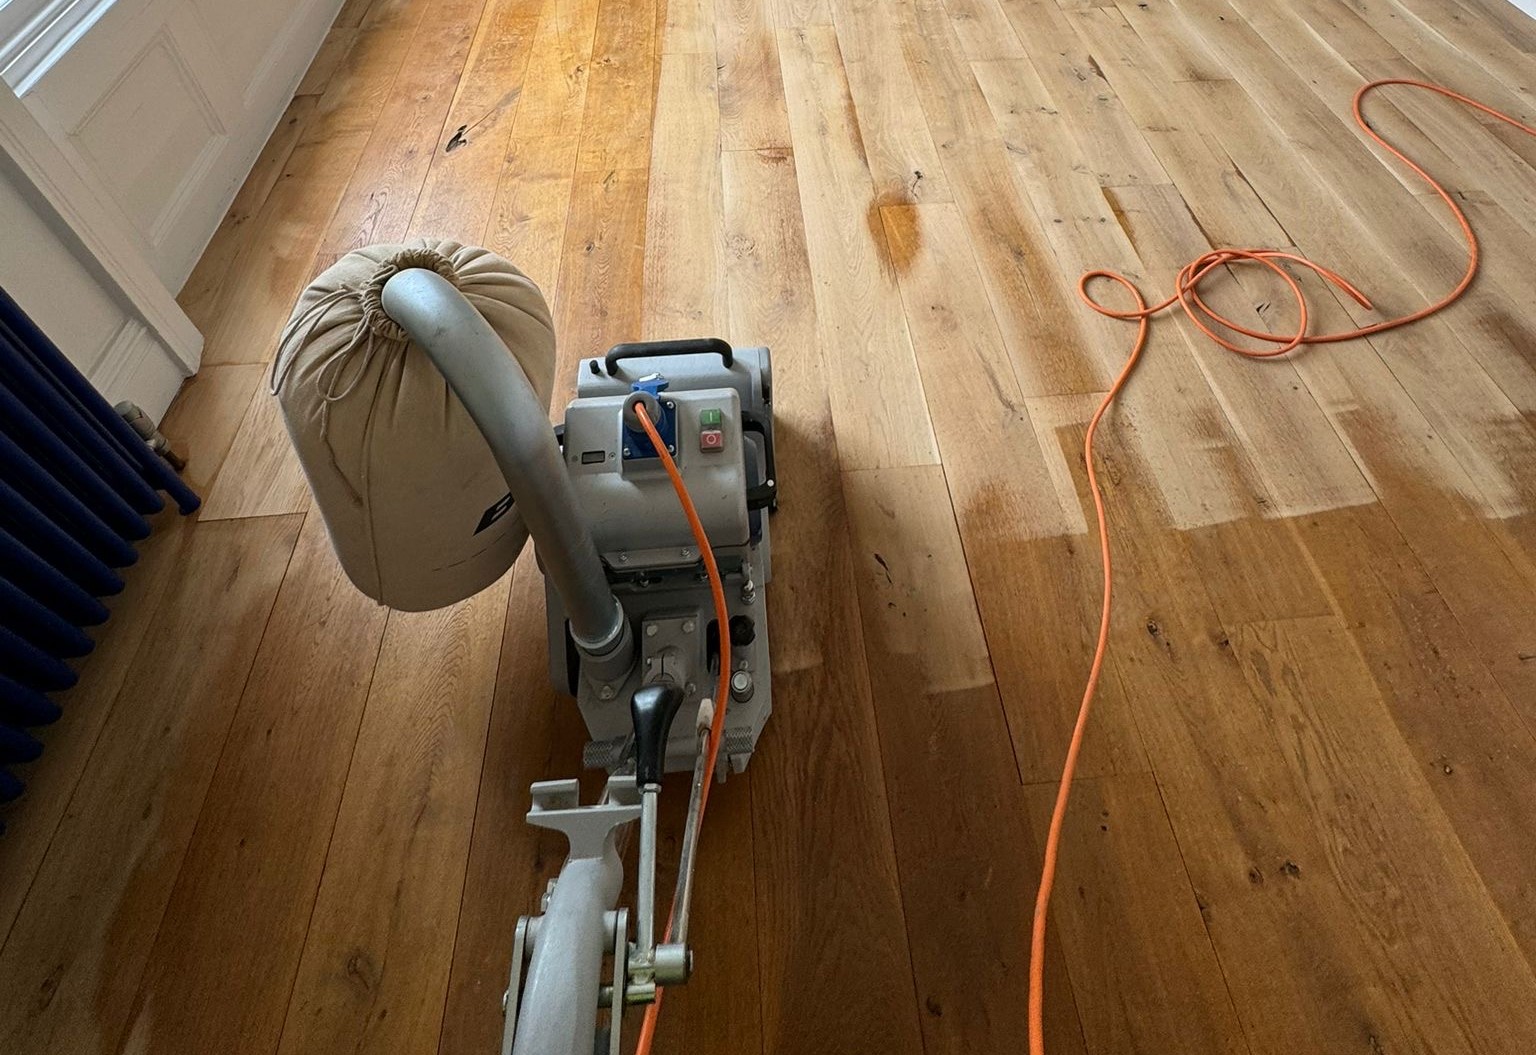
The short answer is yes. The better question, however, is should you? Sanding floors is a skill that falls somewhere between trimming a hedge and rewiring a fuse box. It’s not rocket science, but it’s also not foolproof.
Pros of DIY Floor Sanding
- Cost Savings: Hiring professionals isn’t cheap, and sanding floors yourself can save a fair bit of cash.
- Satisfaction: There’s nothing quite like standing back and admiring a job well done with your own hands.
Cons of DIY Floor Sanding
- Learning Curve: Mistakes—like sanding unevenly or too deep—can permanently damage your floors.
- Equipment Hassles: You’ll need to rent or buy heavy-duty sanding machines, and let’s just say they’re not intuitive to use.
- Time-Consuming: Sanding is laborious and can take several days for large areas.
If you’re up for the challenge, go for it. But if precision and a flawless finish matter to you, calling in the experts is worth every penny.
The Sanding Process: Step-by-Step
Ready to roll up your sleeves? Here’s how to sand your floors like a pro.
Step 1: Clear the Room
This may seem obvious, but it’s crucial. Move every last piece of furniture, remove rugs, and take down any pictures or curtains. You’re about to make dust, and it’ll get everywhere.
Step 2: Inspect the Floor
Look for loose boards, protruding nails, or cracks. Secure loose planks with screws, hammer down any nails, and fill large gaps or cracks with a wood filler.
Step 3: Choose Your Equipment
Here’s where things get technical. For most jobs, you’ll need:
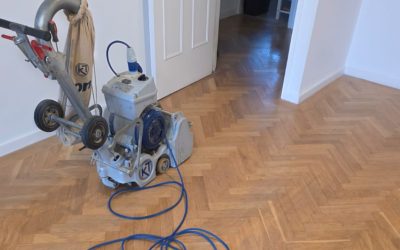
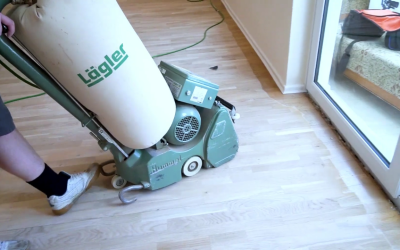
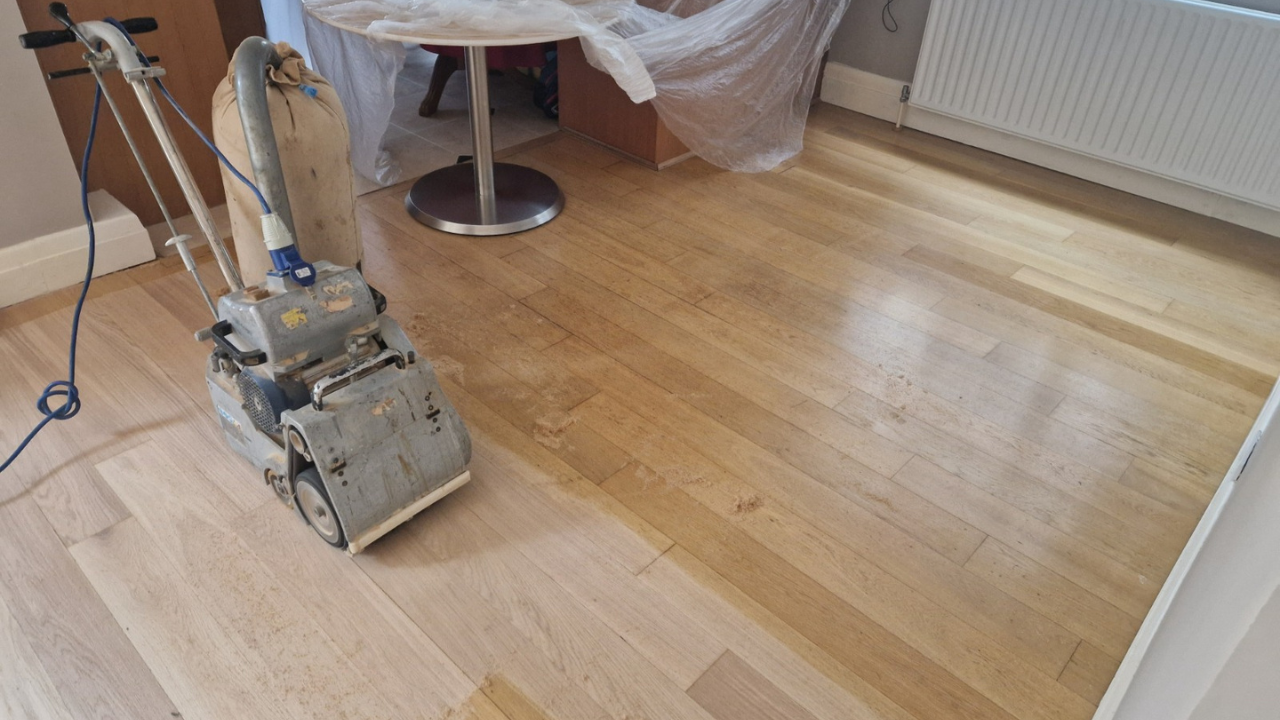
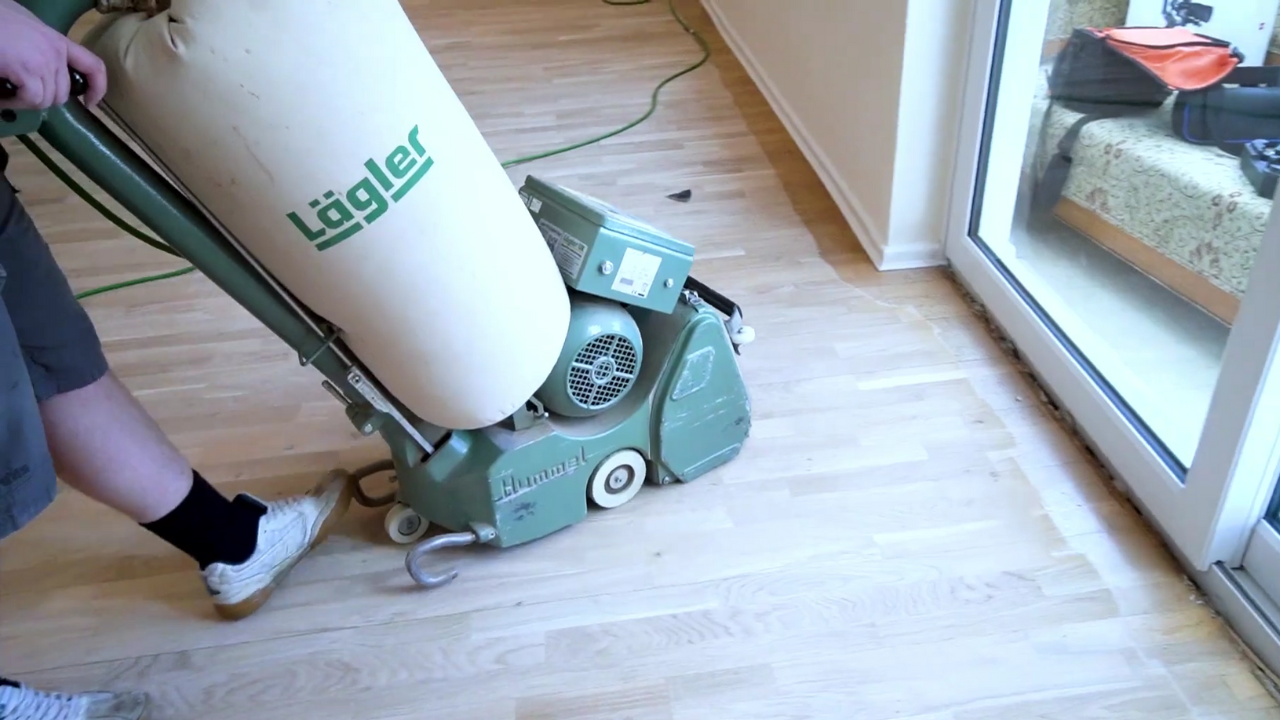
- Drum Sander: The workhorse of floor sanding, ideal for large, flat areas.
- Edge Sander: A smaller, more nimble machine for corners and edges.
- Detail Sander: Optional but useful for tricky spots like around radiators or stairs.
You’ll also need sanding belts or discs in varying grits. Start with coarse (24-40 grit) to remove old finishes, move to medium (60-80 grit) to smooth the surface, and finish with fine (100-120 grit) for a polished result.
Step 4: Sand the Floor
Now the fun begins. Or the chaos, depending on how prepared you are.
- Start with the Coarse Grit
Begin in a corner and work your way across the room in a straight line. Always sand with the grain of the wood. Don’t linger in one spot, as this can create uneven patches. - Switch to Medium Grit
After your first pass, vacuum the dust and switch to a medium-grit paper. Repeat the process to eliminate scratches from the coarse sanding. - Finish with Fine Grit
For the final pass, use fine-grit sandpaper to create a smooth, uniform surface. This is where the magic happens, so take your time. - Edges and Corners
Use the edge sander for areas the drum sander can’t reach, and a detail sander for corners or tight spaces.
Step 5: Clean Thoroughly
Once sanding is complete, vacuum and mop the floor meticulously. Any lingering dust will ruin the finish
Step 6: Apply the Finish
This is where your floor goes from raw to ravishing. Choose your finish based on your needs and aesthetic preferences:
- Lacquer: Durable and glossy, perfect for high-traffic areas.
- Oil: Enhances the natural beauty of the wood with a soft, matte finish.
- Wax: Provides a warm, rich look but requires more maintenance.
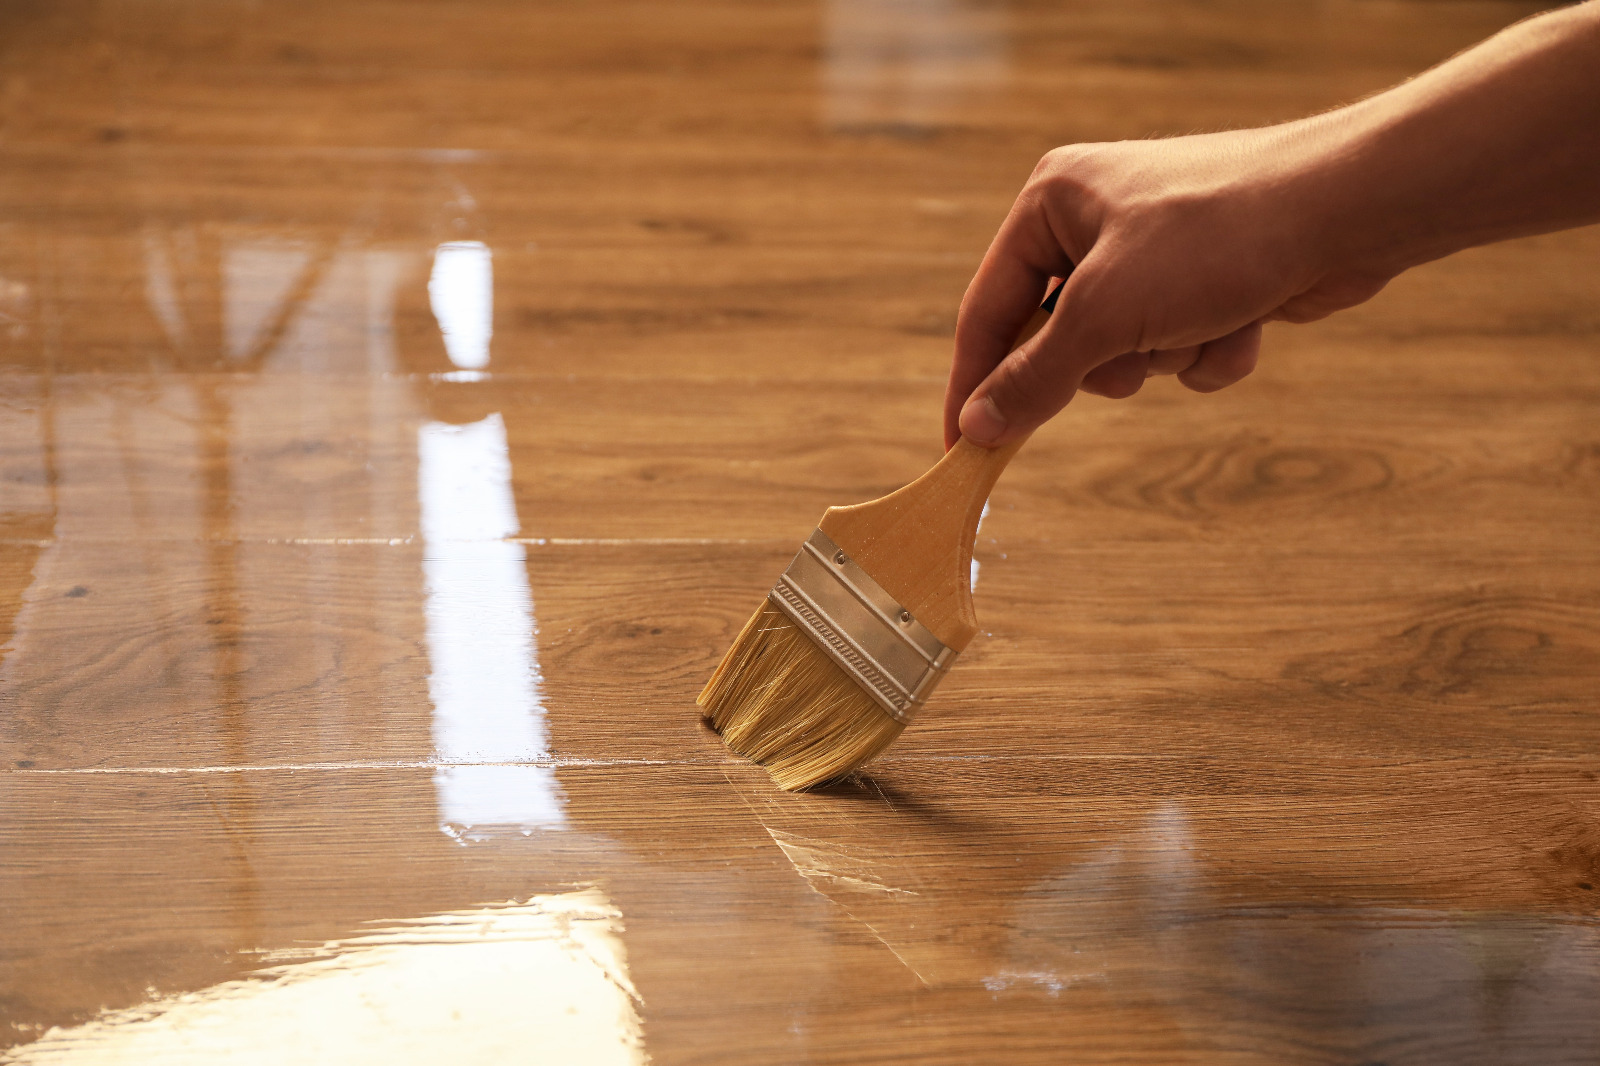
Apply the finish with a roller or brush, working in thin, even coats. Allow ample drying time between coats, usually 24 hours.
Pro Tips for Perfect Results
- Practice Makes Perfect
If you’ve never used a drum sander before, practice on a sheet of plywood or in an inconspicuous area first. - Patience Pays Off
Rushing through the process will only lead to mistakes. Take your time, especially during the sanding and finishing stages. - Safety First
Sanding produces a lot of dust, so wear a mask and goggles. Make sure your workspace is well-ventilated. - Work in Sections
Sanding a whole room at once can feel overwhelming. Divide it into sections to stay organised.
Why Hire Professionals?
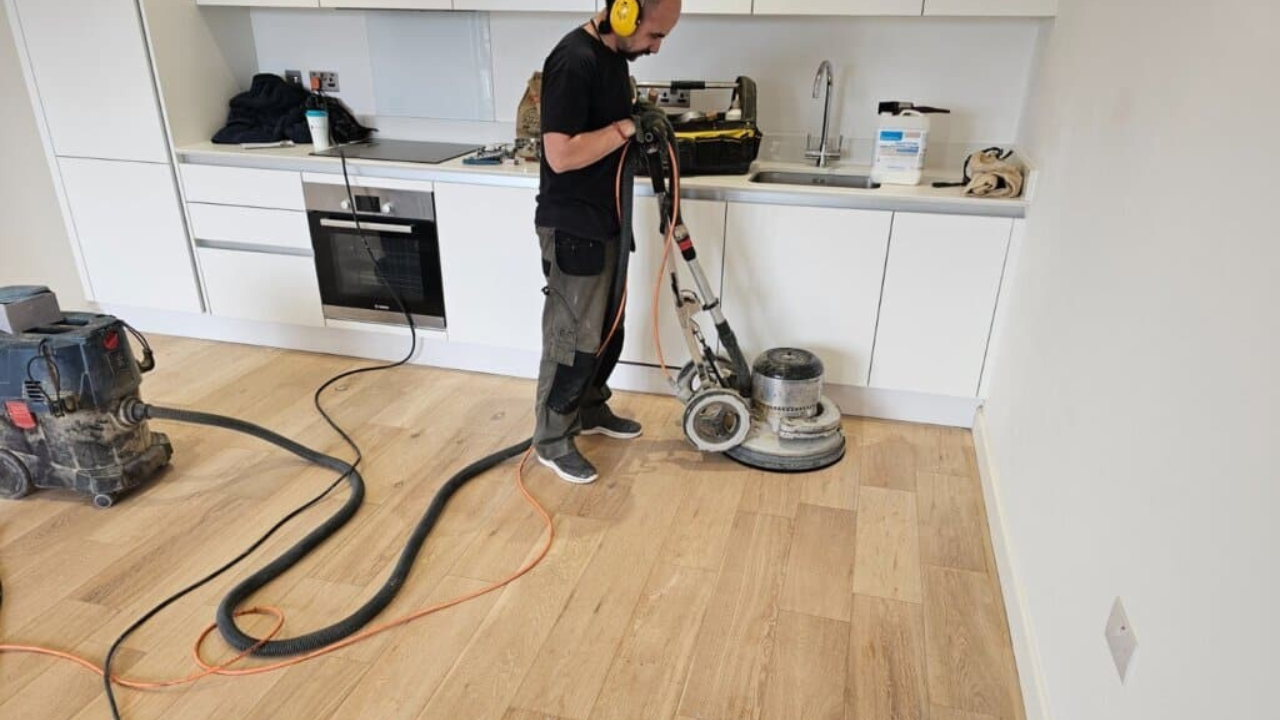
Let’s say you’re reading this and feeling overwhelmed. Or maybe you’ve started sanding and realised it’s more than you bargained for. Don’t panic—this is where professionals like Finchley Floor Sanding come in.
Here’s what you get when you leave it to the experts:
- Experience: Skilled tradespeople know how to handle even the most challenging floors.
- Precision: Professionals deliver a flawless finish that’s hard to achieve on your own.
- Efficiency: What takes you a week, they can do in a day or two.
Sometimes, the smartest thing you can do is step back and let someone else take the reins.
Maintaining Your Sanded Floors
Once your floors are beautifully sanded and finished, it’s important to keep them that way. Here are a few simple tips:
-
Use Mats and Rugs
Place mats at entryways to catch dirt and grit that can scratch your floors. -
Clean Regularly
Sweep or vacuum frequently to remove debris, and use a damp mop with a wood floor cleaner for deeper cleaning. -
Protect from Furniture
Add felt pads to furniture legs to prevent scratches and dents. -
Refinish as Needed
Over time, the finish will wear down. Be proactive and reapply the finish before major sanding is required again.
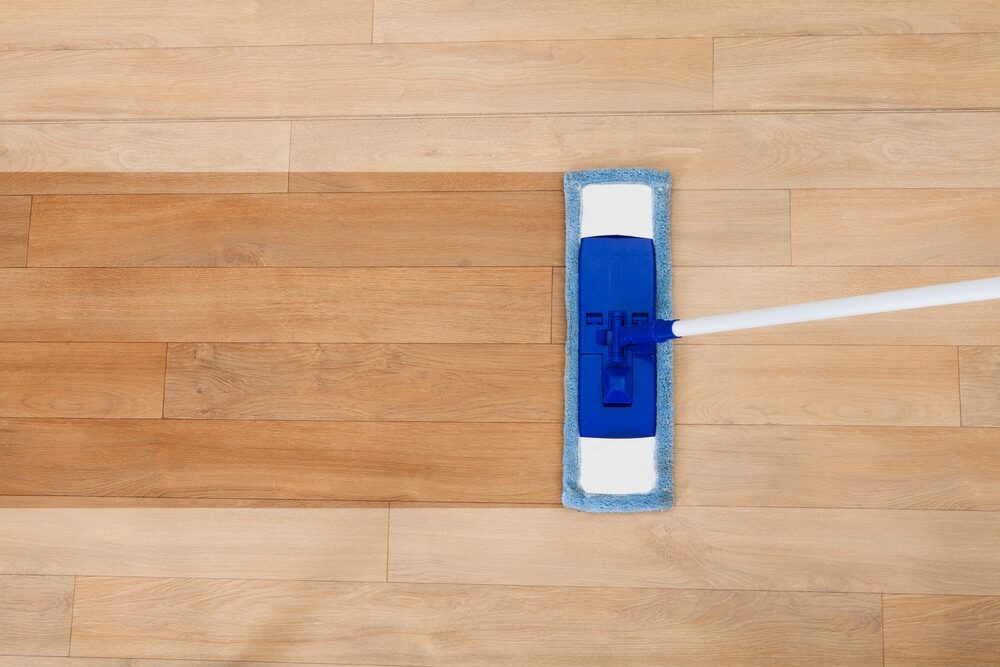
The Charm of Wooden Floors, Restored
Sanding a wood floor is more than just a home improvement project—it’s a revival. It brings back the natural beauty and warmth of wood while adding a touch of sophistication that’s hard to match. Whether you decide to tackle it yourself or call in the experts, the results are well worth the effort.
So, what are you waiting for? Your floors are calling out for a makeover. Grab a sander, some patience, and a vision for the stunning transformation ahead.
And if you’d rather leave it to the pros, Finchley Floor Sanding is just a call away. Because sometimes, restoring your home’s charm is best left to those who’ve mastered the art.