How Humidity and Temperature Shape a Perfect Floor Finish
If you want your wooden floors to look immaculate for years (not months), timing is everything. Sanding and finishing aren’t only about machines, grit sequences, and brand-name sealants; they’re about the conditions your floor experiences before, during and after the work. In the UK—where a sunny morning can turn into horizontal rain by lunchtime—deciding on the Best Time to Sand Floors is more science than guesswork. Get the timing right and your finish cures hard, clear and durable. Get it wrong and you risk slow drying, micro-bubbling, patchy sheen, edge-bonding and a finish that ages early.
This guide walks you through the variables that matter—relative humidity, temperature, heating method, ventilation and lifestyle—so you can plan with confidence and end up with a beautifully even, long-lasting result.
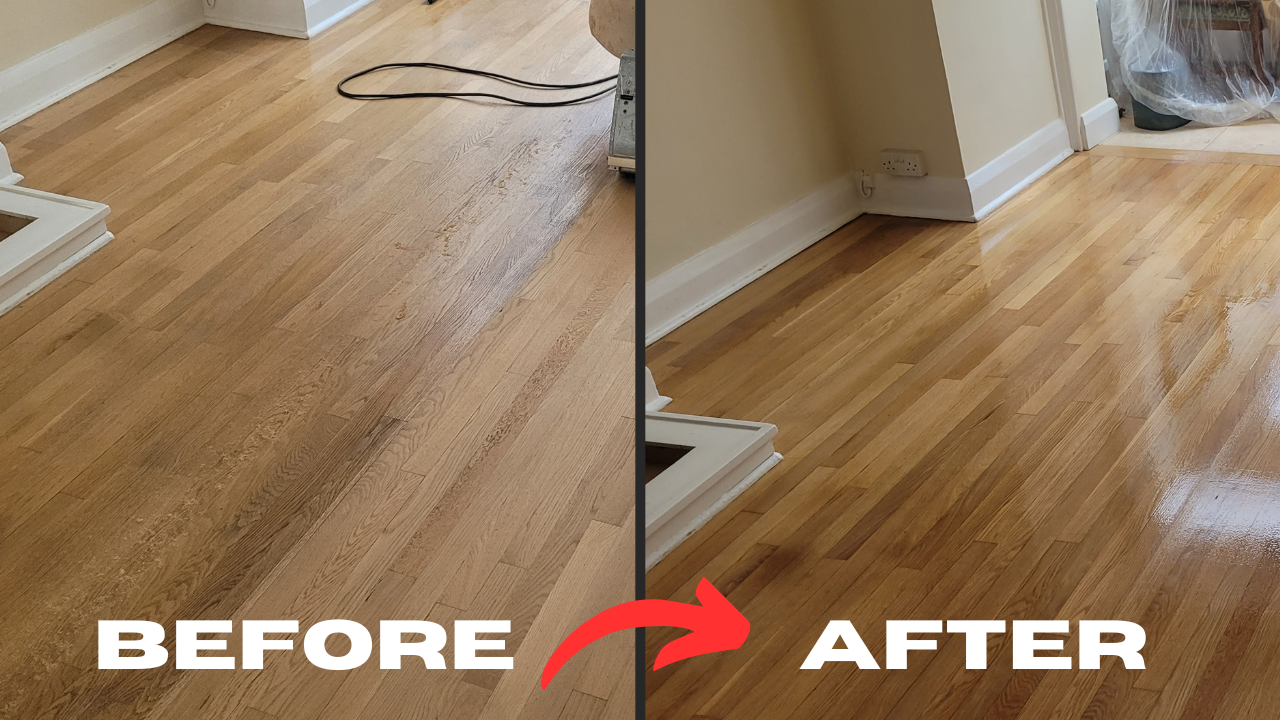
Why timing matters more than you think
Wood is hygroscopic. It constantly exchanges moisture with the surrounding air, expanding as humidity rises and contracting as humidity falls. Sanding exposes fresh fibres and opens pores; finishing then locks the surface under a film (lacquer/varnish), an oil, or a hardwax oil hybrid. If the moisture and temperature aren’t “in the pocket” when you work, curing chemistry slows or misbehaves. The upshot can be:
- Slow drying and scuffing: traffic marks because the film isn’t cured enough to resist abrasion.
- Sheen inconsistency: glossy patches mixed with dull areas where solvent or water couldn’t flash off evenly.
- Side-bonding at board edges: especially with high-build lacquers in cold, damp rooms, increasing the chance of tension cracks later.
- Raised grain and texture telegraphing: humidity swells fibres after the sanding cut, so the finish highlights texture rather than laying flat.
- Tannin discolouration on oak: if the environment is very damp or alkaline contaminants are present, chemical reactions can create picture framing or patchiness.
The cure? Choose the right conditions, stage the site properly, and pick products matched to your home’s climate and heating pattern.
The UK climate in a nutshell: humidity and temperature targets
Across the UK, indoor conditions swing with the seasons, but a “healthy home” typically lives around:
- Relative humidity (RH): 40–60%
- Air temperature: 16–23°C (finishes often prefer 18–22°C for application and early cure)
- Timber moisture content (MC): 8–12% for most lived-in interiors
You don’t need to obsess over decimals, but you do want to avoid extremes. Persistently high RH (65–80%) plus low temperature (below ~12–14°C) is a red flag for slow curing and compromised film formation. Conversely, bone-dry air (<30% RH) can make certain finishes flash off too quickly, risking lap marks or roller tracking.
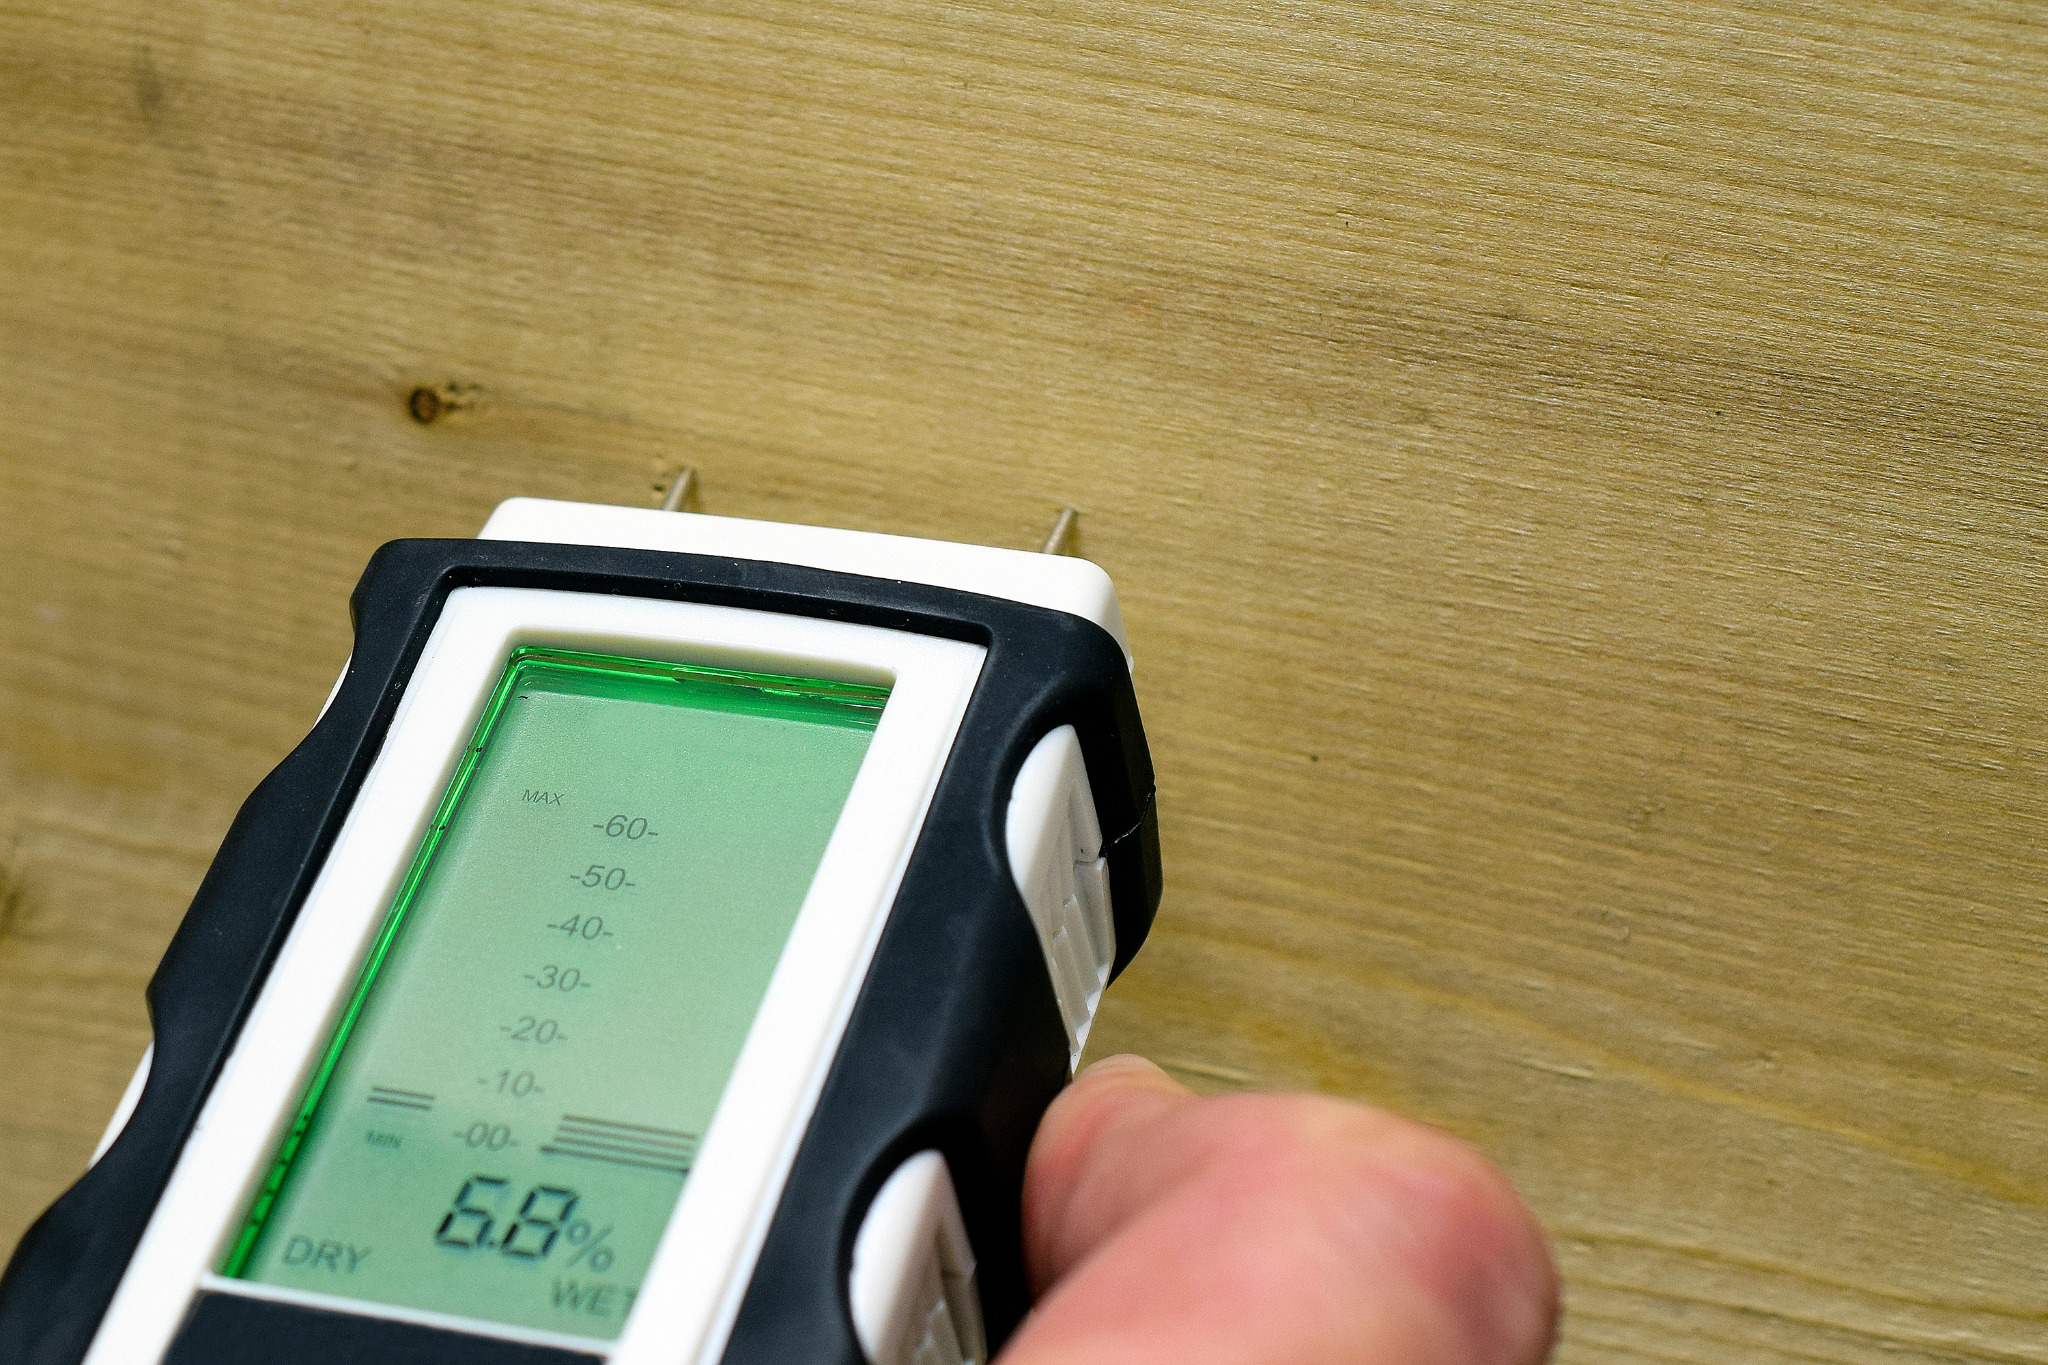
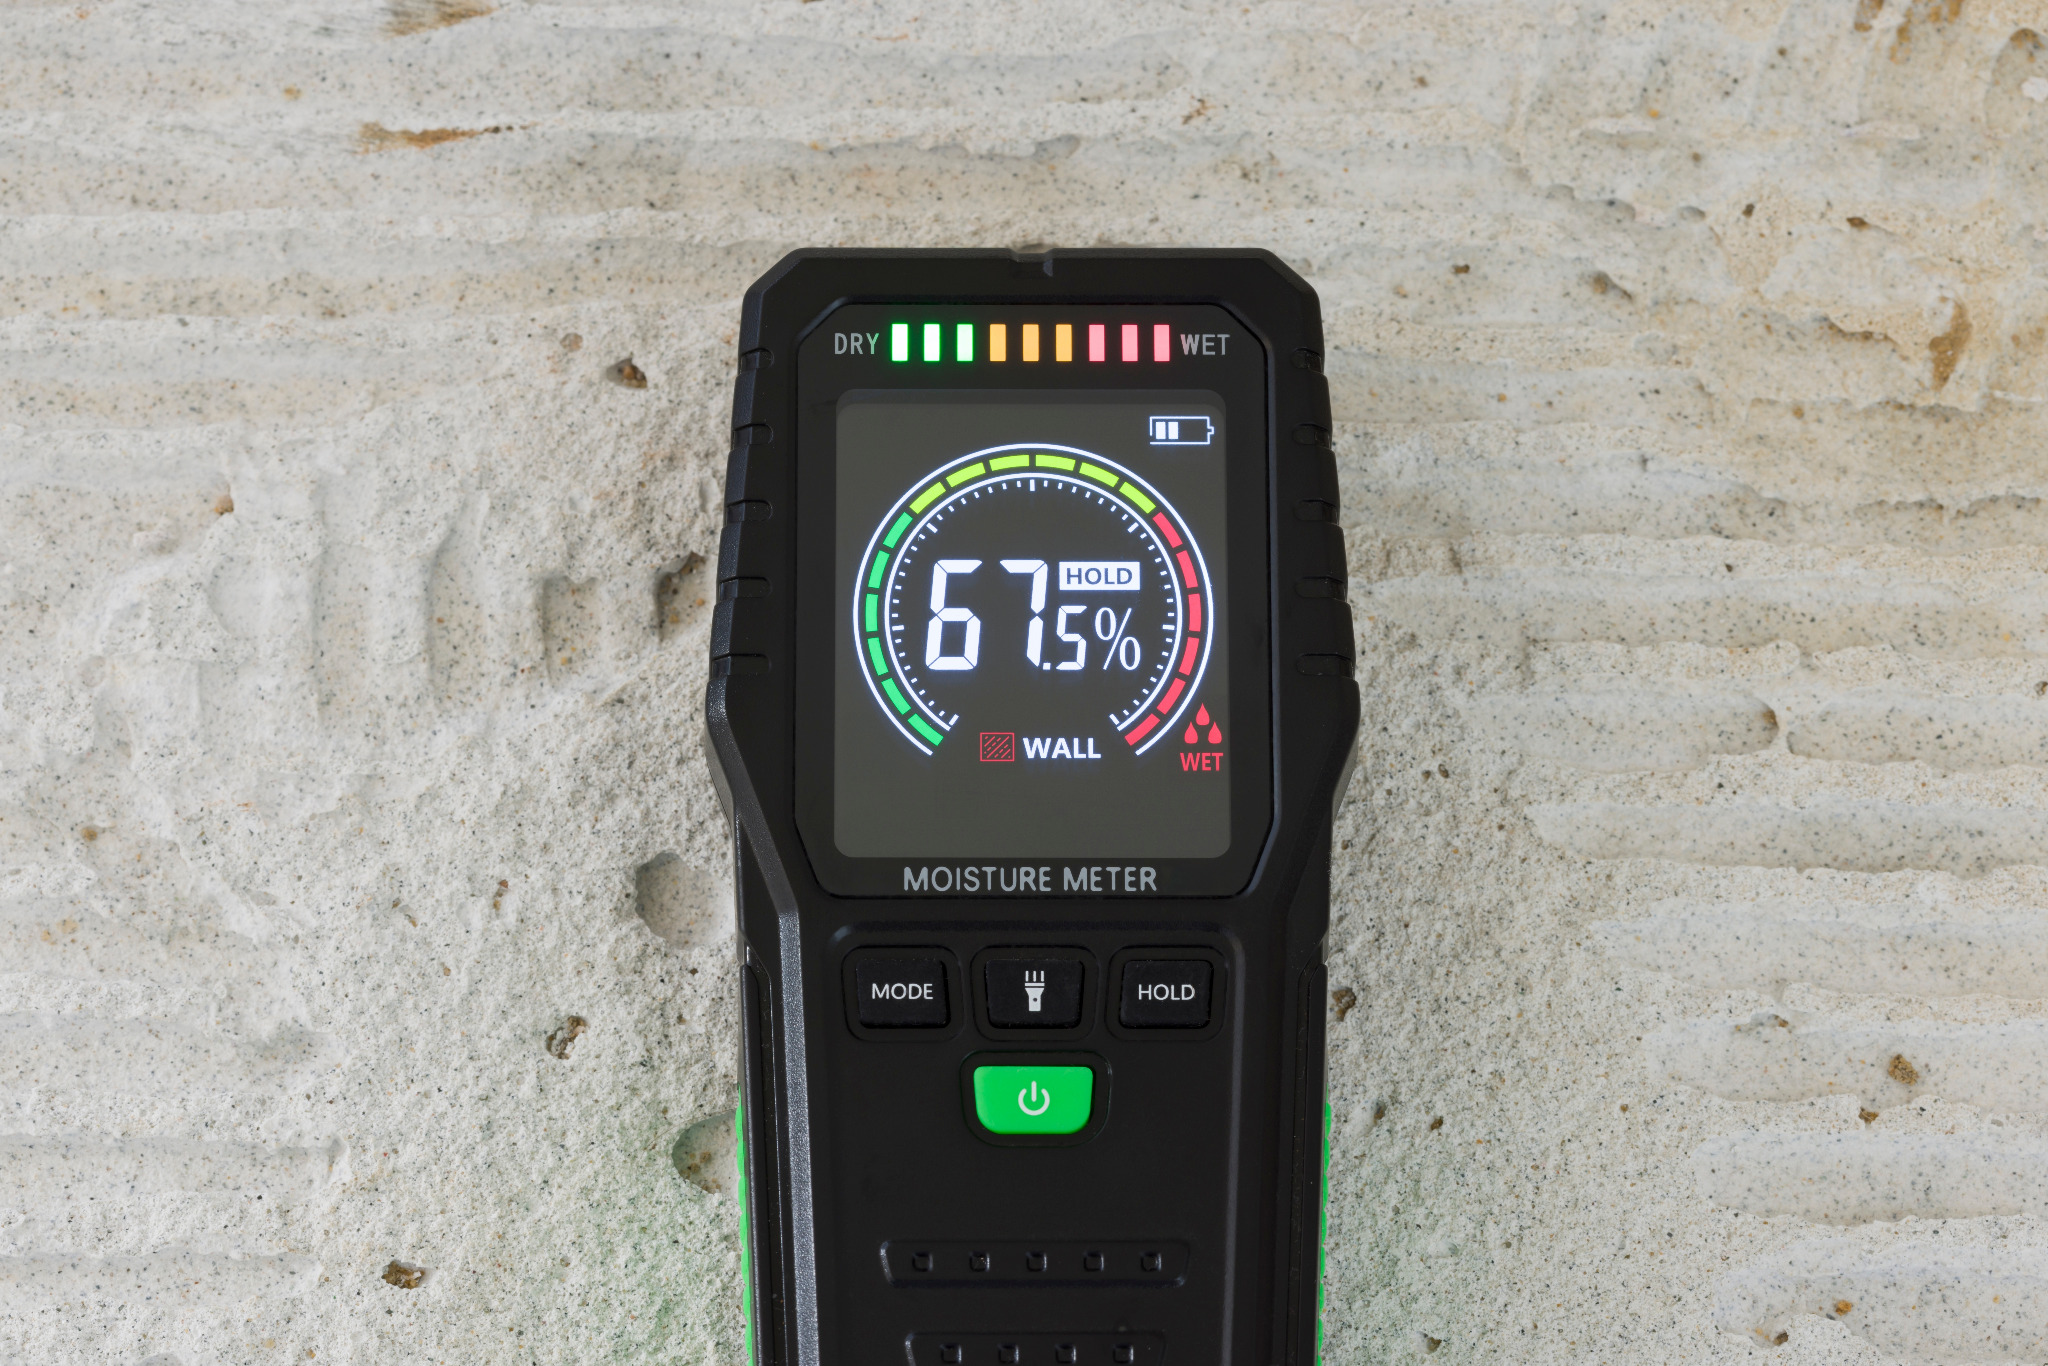
Tip: An inexpensive digital hygrometer/thermometer gives you live RH and temperature. If you’re curious about the floorboards themselves, a pin-type moisture meter gives a quick MC reading.
Seasonal guide: when conditions typically favour a better result
UK seasons are variable, but certain patterns recur. Use these as a steering compass rather than a rigid calendar.
Spring (March–May)
- Why it’s good: Central heating starts easing off, indoor RH lifts from winter lows, and windows can be cracked open for ventilation without the room turning into a fridge.
- Watch-outs: April showers bring higher ambient humidity outdoors; ventilate strategically—short, sharp air exchanges rather than leaving windows wide all day in damp weather.
- Verdict: Often a sweet spot for scheduling. It’s easier to maintain 18–21°C and 45–55% RH—prime conditions for a smooth cure.
Summer (June–August)
- Why it’s good: Warmer temperatures accelerate curing schedules for many modern finishes. Natural ventilation is easy.
- Watch-outs: Heatwaves can dry air rapidly, making water-based finishes flash too fast. High summer humidity (especially after storms) can also slow things. Direct sun on glass can overheat a room and cause lap-marking if you work in the hotspot.
- Verdict: Excellent—if you manage sunlight and airflow. Use blinds to diffuse solar gain, and keep air moving with a fan rather than creating a gale.
Autumn (September–November)
- Why it’s good: Early autumn can mimic spring’s balance—mild temperatures, reasonable RH.
- Watch-outs: As heating comes back on, indoor RH can dip quickly. If you start in September with perfect 50% RH and finish in late October at 30–35%, the floor can shrink a touch—harmless if the finish has good elasticity, but worth noting.
- Verdict: Early autumn is usually favourable. Late autumn is fine with modest humidity support (e.g., bowls of water near radiators or a small humidifier for very dry homes).
Winter (December–February)
- Why it’s tricky: Cold air + high outdoor humidity + enthusiastic central heating equals fluctuating indoor conditions. Rooms can be cold before trades arrive and then dry out rapidly once heating and ventilation kick in.
- Watch-outs: If the site is unheated before and after the job, curing slows dramatically. Condensation on cold glazing can push local RH up near sashes and patio doors.
- Verdict: Doable with preparation: warm the space to a steady 18–20°C a full day in advance, cut draughts, and ventilate in short bursts. Many commercial jobs happen in winter—it just takes control.
Product choice vs environment: match the chemistry to the room
- Water-based lacquers (polyurethane/acrylic blends): Popular for speed and low odour. They like 18–22°C and 45–60% RH in the first few hours. Too cold/damp = slow coalescence and risk of whitening; too hot/dry = lap marks.
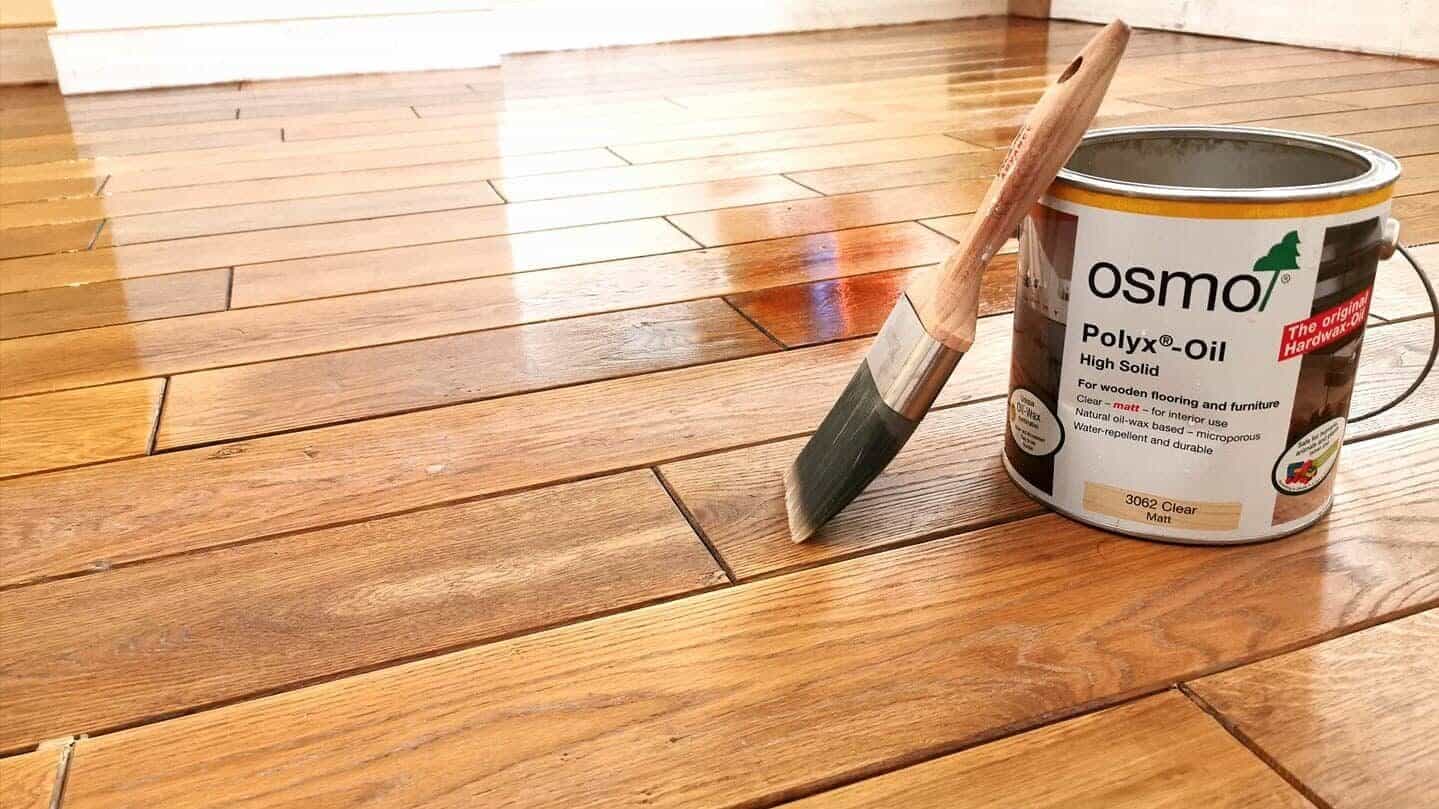
- Hardwax oils: Forgiving and repairable. They tolerate a wider RH range but still prefer >16°C. Too cold and the oil thickens, slowing penetration and cure.
- Traditional solvent lacquers: Less common in domestic UK settings due to odour and regs, but where used they need robust ventilation and stable temperature.
- Penetrating oils: Benefit from warm, still air and modest RH to allow solvents/driers to evaporate evenly without skinning too quickly.
Pro tip: If your room runs cool, schedule a finish system designed for lower temps (some producers certify good cure from 10–12°C upward). If your home is very dry in winter, water-based lacquers with extended open-time can help.
Underfloor heating (UFH): gentle, steady, and planned
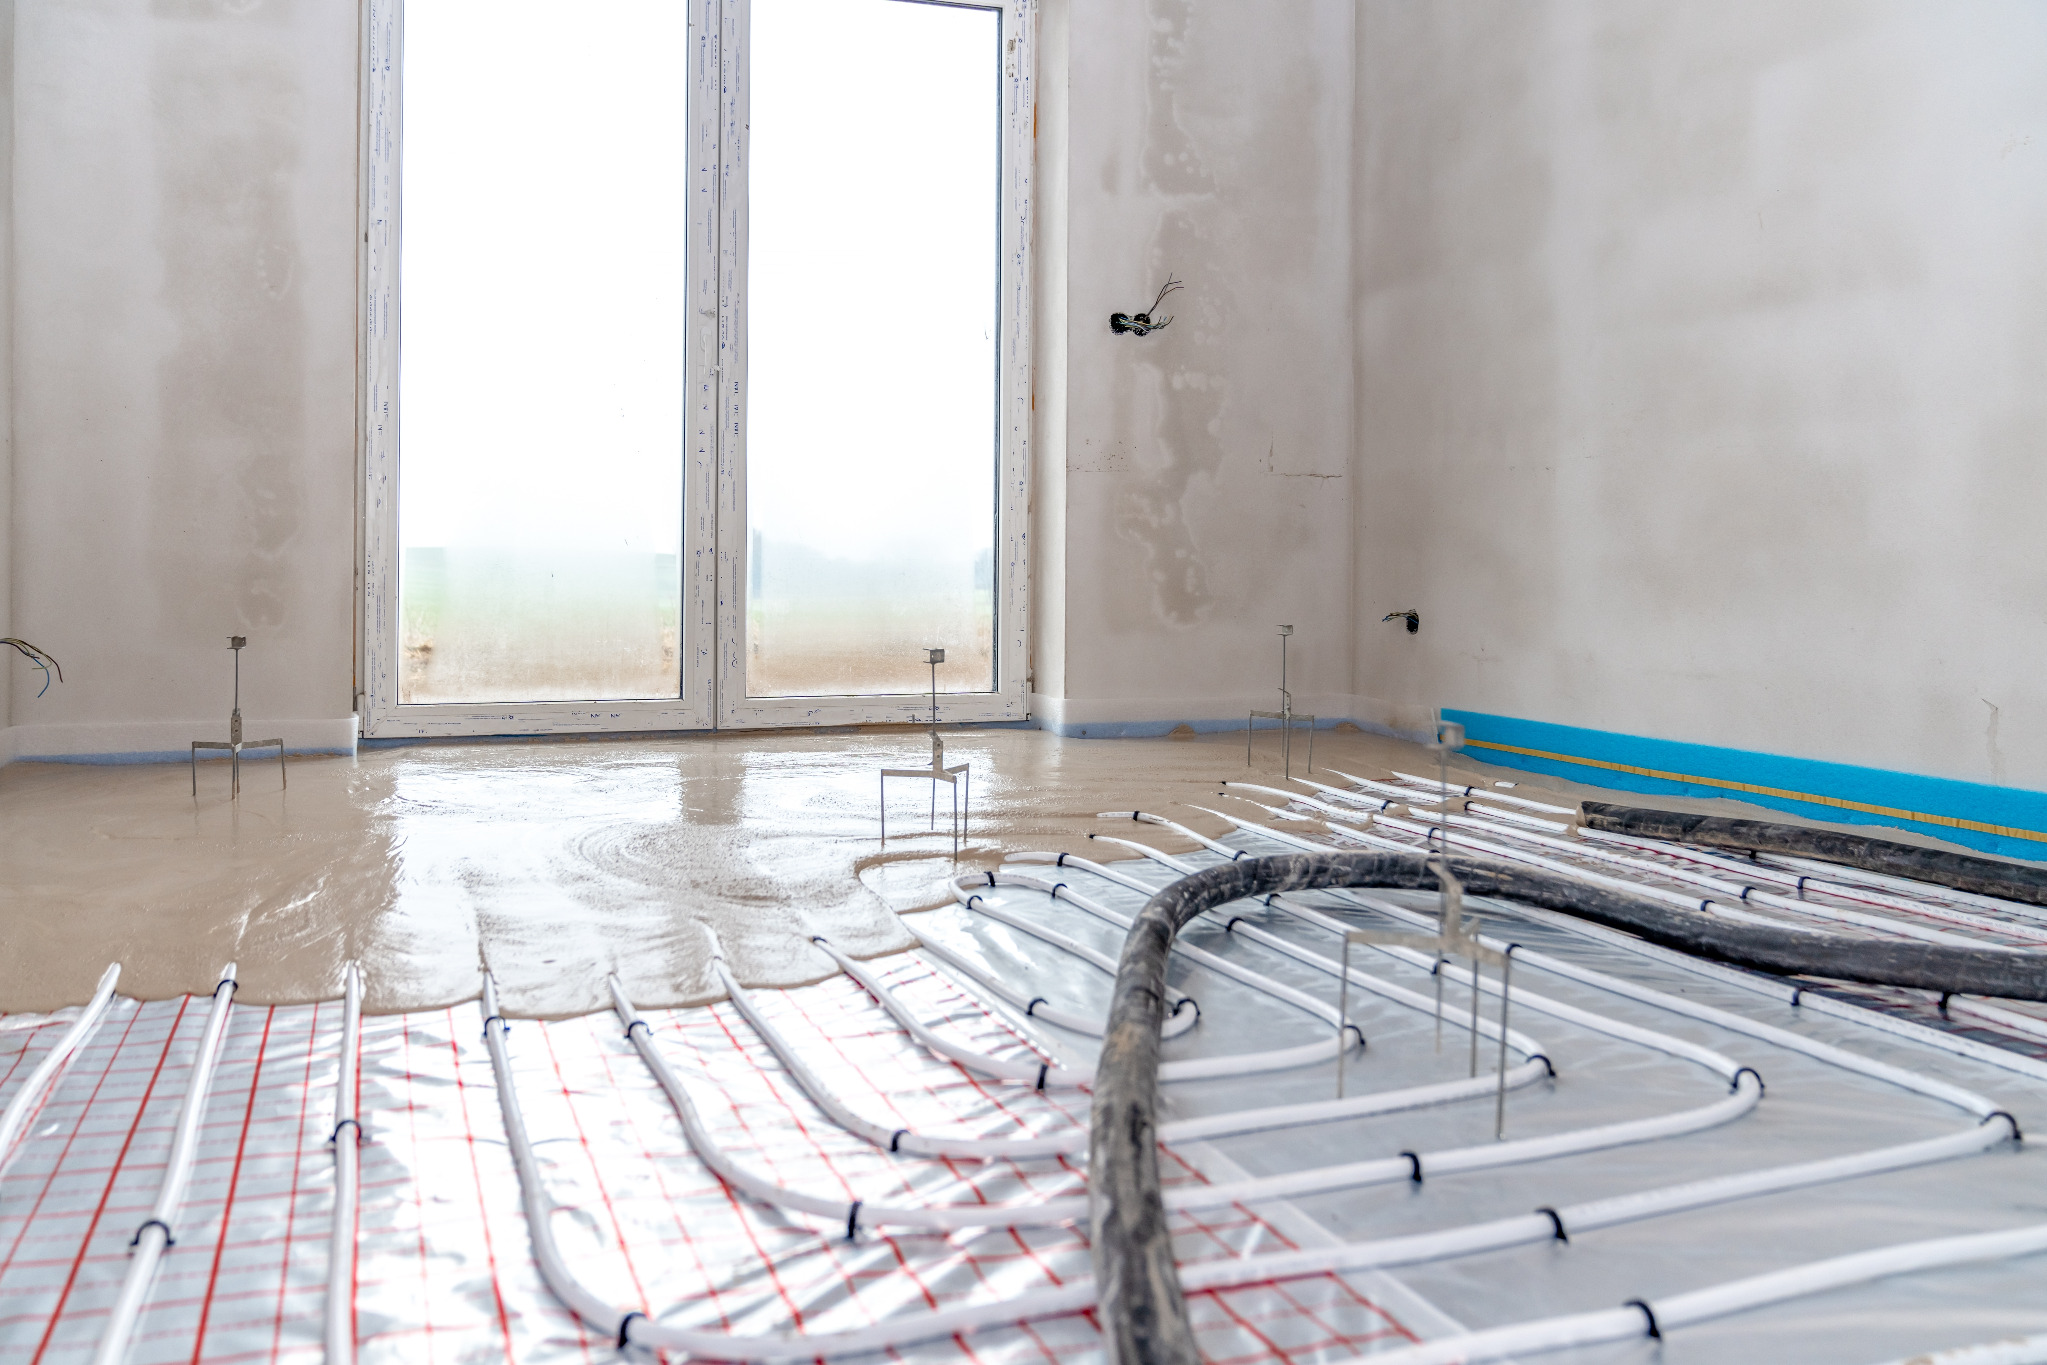
UFH can be a floor’s best friend—if you stage it properly. Rapid heat swings are the enemy; gentle, steady warmth is ideal.
Before sanding:
- Run UFH to achieve a stable room temperature (~18–20°C) for 24–48 hours before work.
- Hold the temperature steady; don’t “boost” last minute.
During finishing:
- Keep UFH at the same set-point. Avoid sharp increases (they can accelerate solvent/water evaporation unevenly).
- Maintain light, consistent airflow (not a blasting fan across the wet film).
After finishing:
- Maintain the same temperature for at least 48–72 hours (product dependent).
- Once the finish is touch-dry and has initial cure, you can nudge UFH up 1–2°C per day, max, to normal operating temperature.
Question you might be asking: When is the Best Time to Sand Floors with UFH?
When your heating can be held at a moderate, unchanging set-point for a few days. That’s often early spring or early autumn, but any time works if you can control the environment.
Radiators and central heating: tame the swings
Radiators heat quickly and cool quickly. That’s convenient, but it can encourage humidity swings and draughts from yo-yo window opening.
- Pre-condition the room: Heat to 18–20°C the day before sanding.
- Seal the envelope: Close unnecessary trickle vents and draught sources temporarily.
- Ventilate intelligently: Short, sharp purges—five minutes every hour—rather than a constant wide-open window.
If your home tends to drop below 15°C overnight in winter, consider a small oil-filled radiator on a thermostat to keep the space steady during the critical first night of cure.
Ventilation: the Goldilocks rule
Finishes need oxygen exchange and a path for water/solvent to leave the film, but too much airflow across a wet coat creates waves, lap marks and debris ingress.
- Aim for cross-ventilation that changes the air without blasting the floor. A fan angled at a wall—not at the floor—can help circulate gently.
- Filter your air if possible (a simple domestic purifier on low helps capture dust).
- Avoid cooking and shower steam during early cure; it spikes RH locally.
Moisture content and acclimatisation
If you’ve just uncovered original Victorian boards after years of carpet and underlay, expect them to change once exposed. Let the room and the boards stabilise:
- Acclimatisation window: 3–7 days with the room at living conditions (heating as normal).
- Target MC: 8–12% for most homes; coastal or listed buildings may sit a touch higher—live with your building, not against it.
- Check for damp sources: Cold external walls, wet subfloors and plumbing pinholes all show up as persistent high MC in a localised area. Sort these before finishing.
Room readiness: a practical checklist
- Humidity & temperature: RH 40–60%, temperature 18–21°C.
- Heating plan: UFH steady; radiators pre-set the day before.
- Ventilation: Cross-flow arranged; no direct drafts over the wet floor.
- Dust control: Curtains/blinds closed during sanding (to reduce convection), vents taped temporarily, tools with HEPA extraction.
- Access control: Pets and people planned out; create alternative routes.
- Cure buffer: 24–72 hours of light usage only, according to product guidance; rugs/furniture back gradually (felt pads ready).
- Post-care kit: Neutral cleaner, soft pads, and door mats (grit is lacquer’s enemy).
Use this list to help you choose the Best Time to Sand Floors for your home.
Curing reality: what “dry” really means
“Dry to touch” is not “ready for parties.” Each finish has stages:
- Dust-dry: Surface won’t mark from light airborne dust (often within 1–3 hours).
- Recoat window: When the next coat will bond chemically/mechanically (commonly 2–6 hours for water-based, longer for oils).
- Light use: Socks only, careful traffic (12–24 hours typical).
- Furniture back: Usually 24–72 hours (lift, don’t drag; fit felt pads).
- Full cure: Hardest state for abrasion and chemicals—often 5–10 days for water-based lacquers; 7–14+ days for some oils/hardwax oils.
Plan your calendar so the space has a quiet period after finishing. If you’ve got a toddler, a dog and a December dinner party, build in a safe cushion.
Special spaces: kitchens, lofts, basements and busy hallways
- Kitchens: Steam, cooking oils and traffic compress curing windows. Schedule when you can eat out or BBQ for a couple of days. Keep boiling pots away from freshly coated rooms.
- Lofts: Solar gain can create sauna-like afternoon peaks. Use blinds and ventilate in short spurts.
- Basements: Often sit at higher RH; a desiccant dehumidifier helps keep RH under control during cure.
- Hallways: The grit corridor. Put mats down outside and inside doors once the finish has reached light-use status.
DIY vs professional: who should time what?
If you’re DIY-minded and the room is modest, you can absolutely plan toward professional-grade conditions. But professionals bring:
- Moisture and RH testing gear and the judgment to interpret results.
- Product systems chosen for your exact site conditions (not just what’s available on a shelf).
- Dust-control extraction that keeps debris out of your wet film.
- Workflow efficiency for even application at the correct spread rate and pace, reducing lap risk.
That said, the site belongs to you—no professional can “out-cure” a room with windows flung open on a wet January night. Collaboration is key: you stabilise the environment; the pro delivers the technique.
Planning timeline: a simple, repeatable sequence
Two weeks out:
- Book dates that avoid parties, deliveries and school holidays.
- If winter, confirm you can maintain 18–20°C continuously.
One week out:
- Check RH with a hygrometer morning and evening; learn your home’s pattern.
- Gather felt pads, mats, and neutral cleaner.
Two days out:
- Move furniture, empty wardrobes/bookshelves in the work area.
- Pre-warm the space if it’s cold; steady the RH if it’s very dry/humid.
The day before:
- Vacuum thoroughly; seal unused vents; plan access routes.
- Hold temperature steady overnight.
During the job:
- Maintain gentle airflow; manage sunlight; keep pets out.
- Respect recoat times—don’t push faster than the finish allows.
After the final coat:
- Quiet the room. Short ventilation bursts only.
- Return light furniture on schedule; rugs last.
Follow this rhythm and you’ll naturally land closer to the Best Time to Sand Floors for your property.
Common timing mistakes (and how to dodge them)
- Chasing the calendar instead of the room. The middle of July can still be muggy and stormy; the first week of March can be crisp and perfect. Measure, don’t assume.
- Cold-start sites. Arriving to a 12°C room, heating it rapidly, then applying finish in the first warm hour invites condensation on cool surfaces and uneven flashing.
- Over-ventilating. A howling cross-breeze dries edges too fast and carries dust across wet film.
- Ignoring sun patches. Direct beams can drive rapid water loss and lap marks. Diffuse the light, or coat those panels first and blend swiftly.
- Rushing furniture back. Most damage in the first week is avoidable: felt pads, careful lifting, no rugs until the finish is truly ready.
Humidity helpers: small tools that make a big difference
- Hygrometer: Your decision-maker. Keep one in the room and jot readings morning/evening for a few days before the job.
- Oil-filled radiator or UFH timer: Keeps temperature steady overnight.
- Dehumidifier or humidifier: Use lightly to nudge RH into the 40–60% zone—not to force radical changes.
- Blinds/curtains: Cheap, effective control of solar gain.
- Door snakes and temporary seals: Reduce draughts without sealing the room airtight.
FAQs
How long should I leave after sanding before walking on the floor?
Often the next morning in socks is fine for water-based lacquers; oils/hardwax oils can vary. Follow the system’s guidance—your specific temperature and RH matter more than the clock.
My house is very dry in winter; will that ruin the finish?
Not at all, but it can accelerate flashing. Choose a system with longer open time or lightly support humidity. Keep the room 18–20°C and ventilate in short bursts.
Is it okay to sand in winter?
Yes—commercial sites do this constantly. The key is a stable, warmed space and airflow control. Avoid unheated “cold starts” and respect cure windows.
Should I leave the heating on at night during cure?
If nights are cold, yes—keep it steady. The first 24–72 hours are critical for film formation and early hardness.
Does underfloor heating damage finishes?
No, provided you avoid big temperature swings. Step changes of 1–2°C per day are the rule of thumb after the first couple of days.
The short answer
There isn’t a single date on the calendar that guarantees perfection. What you’re looking for is steady 18–21°C, RH around 45–55%, gentle airflow, and a clear diary for a few quiet days. That combination can happen in April or October, or in January if you prepare well. If you want the fast track to a flawless result—and you’d prefer an expert to stage the conditions and the craft—talk to a specialist who measures, plans and executes around your home’s realities rather than the weather forecast.
If you’re weighing up the Best Time to Sand Floors, book a free assessment and we’ll help you choose dates that fit your space, your routine and the finish you love—so your floors cure beautifully and stay beautiful.